 selan.ai
Docs · Claude Desktop
Set up Claude Desktop on your company's account
Run Claude Desktop on your company's account: same keys, same limits, same Usage and Logs as everything else. Download one file, import it, relaunch. For how the pieces fit together, start at the docs.
How do I keep my claude.ai chats?
Desktop keeps conversations on this machine, so signing in gives you an empty sidebar. Your claude.ai history does not come with you. Getting it across is a separate job: an extension makes a file from your claude.ai account, and Desktop imports it once it is set up.
The export runs in your browser and has nothing to do with the steps below. A long history takes a few minutes, so start it now and let it run while you work through the setup. The file will be waiting when you get to the import.
Which file do I need?
Everything below needs this one file. Download it now. Step 3 asks for it.
Needs Claude Desktop 1.25927 or newer.
What is in the settings file?
It is a pointer, not a credential. The file holds one URL and asks Desktop to sign in before reading it. Everything real comes from that URL each time Desktop starts: the gateway, the key, your connectors. So the file is the same for everyone at your company, and there is nothing in it to keep secret or rotate.
Your own credential comes from the browser sign-in in step 7 and stays on your machine.
Do not share a file you exported yourself. Desktop's own Export writes the same shape but with a live gateway key inside it. That file is a secret; the one above is not. Always start from the download.
How do I set up Claude Desktop, step by step?
Steps 1 and 2 are menus. Steps 3 to 5 happen in the window they open. Steps 6 and 7 come after Desktop restarts, and nothing works until it does.
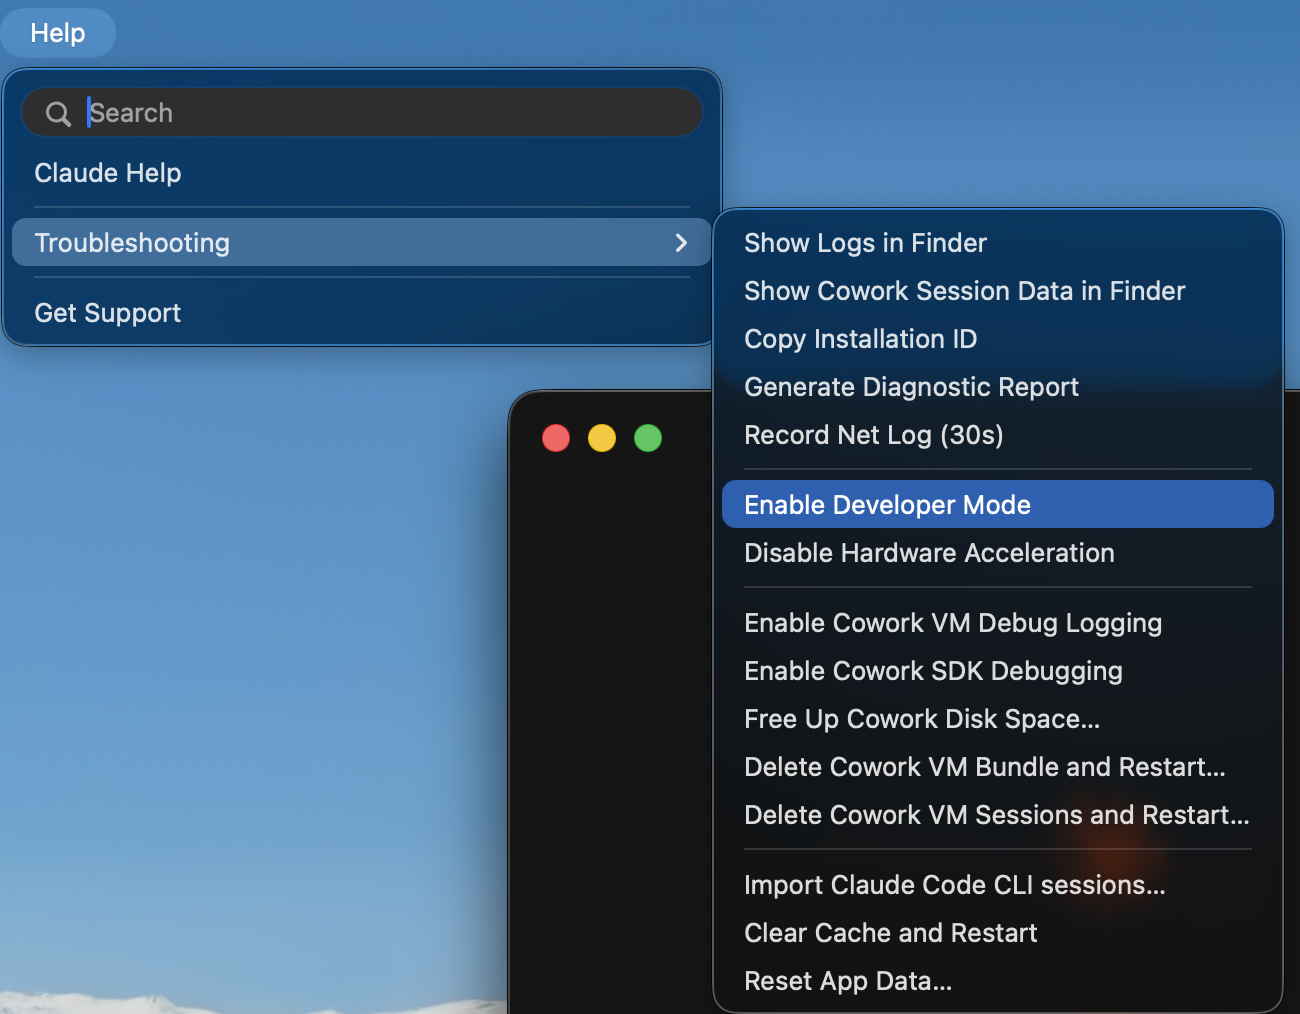
Help → Troubleshooting → Enable Developer Mode. Skip this if you already have a Developer menu.
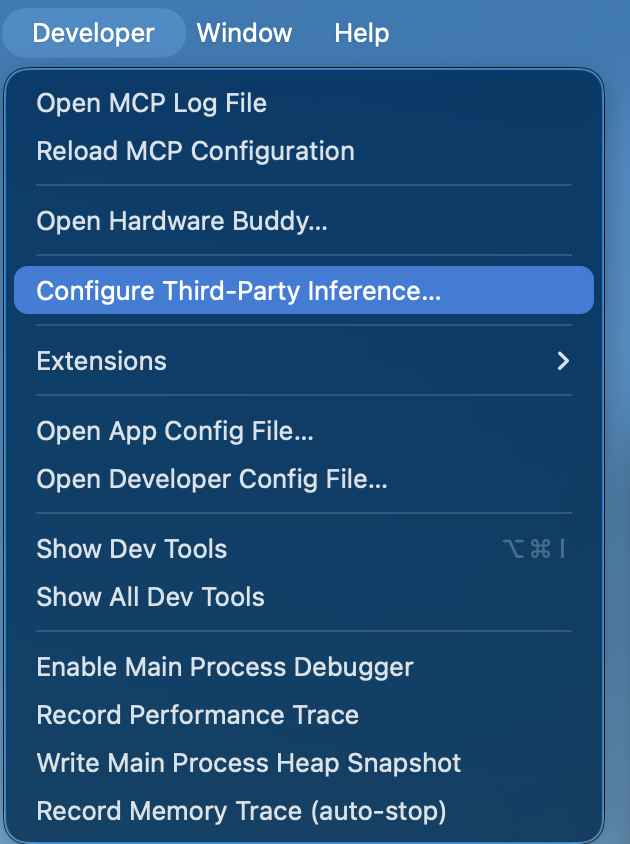
Developer → Configure Third-Party Inference…
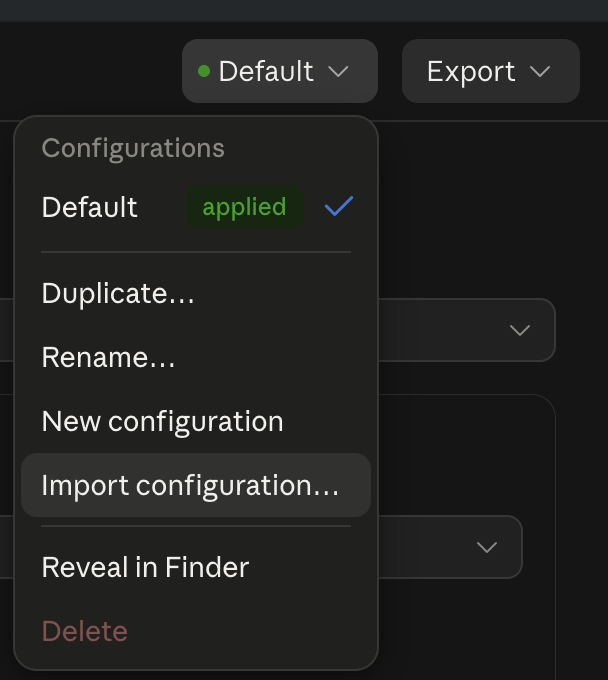
In the window that opens, click Default at the top right, choose Import configuration…, and pick the file you downloaded.
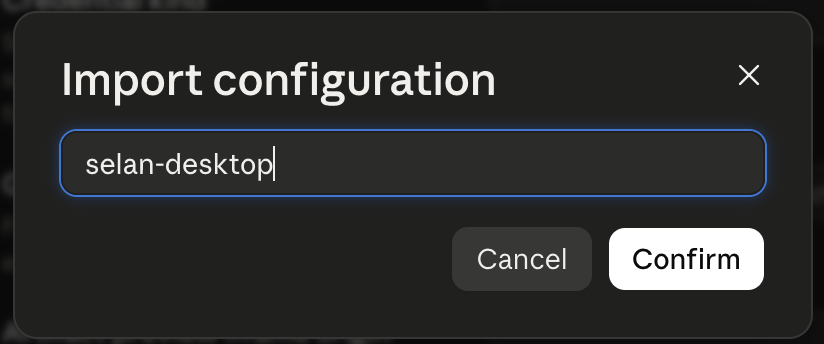
Any name will do; it is only the label in that menu. Press Confirm.
Apply Changes, bottom right. Importing fills the fields in; this is what saves them.
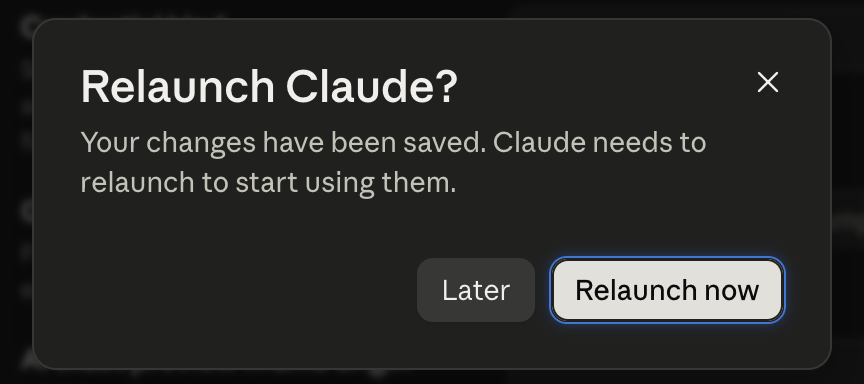
Relaunch now. Desktop reads the configuration when it starts, so nothing changes until it does.
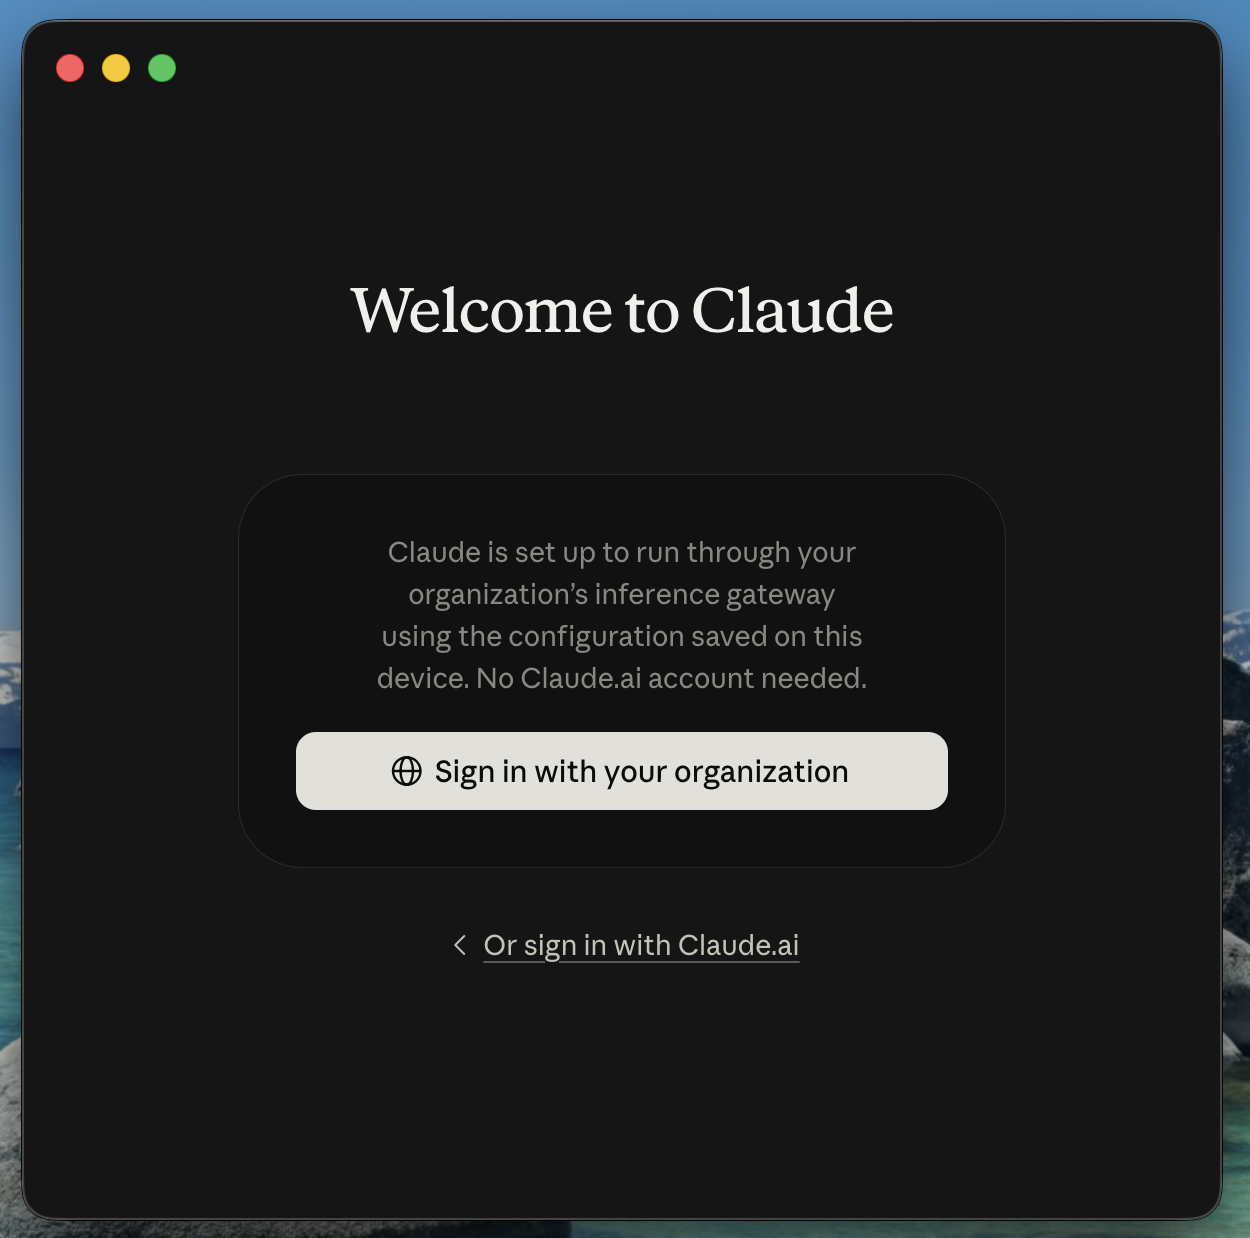
Desktop opens your browser. Sign in there as you would to Selan itself. That sign-in creates your credential.
Back in Desktop, you are on your company's account. No Claude.ai subscription needed.
What if my Desktop has no Import button?
An older Desktop has no Import button, so type the values in instead. They go in Configure Third-Party Inference → Source. That category looks disabled, but it is not. Click it.
| Field | Value |
|---|---|
| Bootstrap config URL | https://gw.selan.ai/selan/desktop/bootstrap |
| Issuer URL | https://auth.selan.ai |
| Client ID | claude-desktop |
| Scopes | openid |
Then turn on both switches in the same category: Use bootstrap config and Trust bootstrap-delivered settings.
The second switch is the one people miss. Without it, Desktop
fetches the settings and then discards most of them, reporting
bootstrap response is missing required field(s). Turn both on, then
relaunch as in step 6.
What if Claude Desktop setup did not work?
Desktop still asks for a Claude.ai account. It has not restarted, or step 5 was skipped. Apply Changes, then relaunch.
It reports a missing field. Trust bootstrap-delivered settings is off. An imported file has it on already, so this means a hand-typed setup.
Sign-in opens and nothing happens. Desktop is older than 1.25927. Update, then start again at step 3.